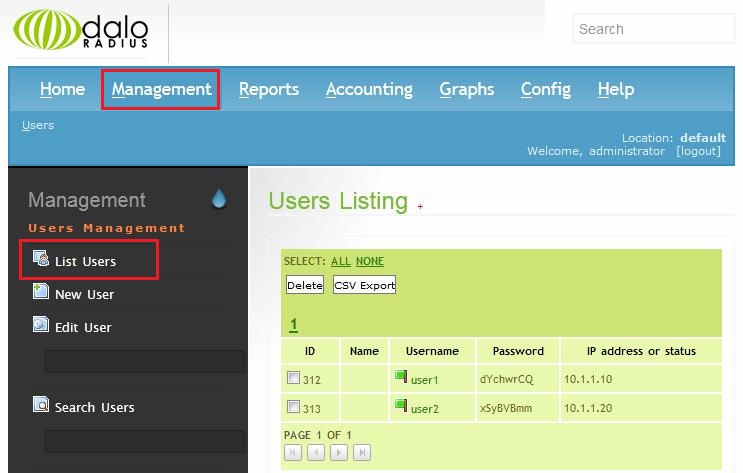
1. Click "Management"->"List Users":
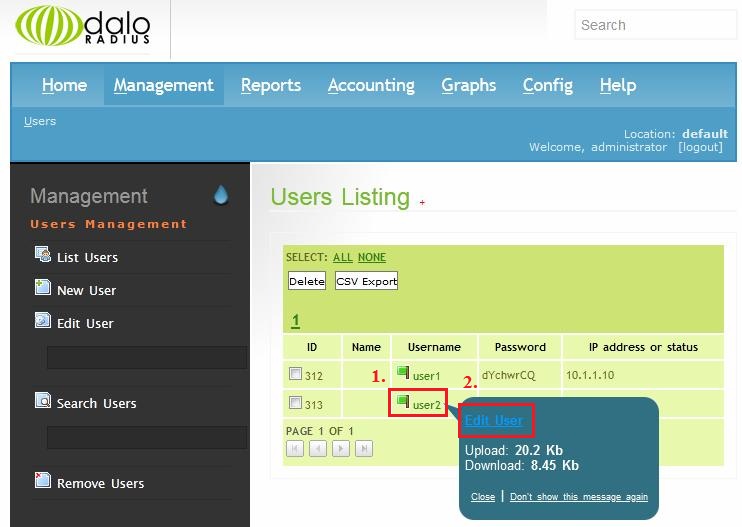
2. Click the usermame of the user to display the context menu. Then click "Edit User" on the context menu:
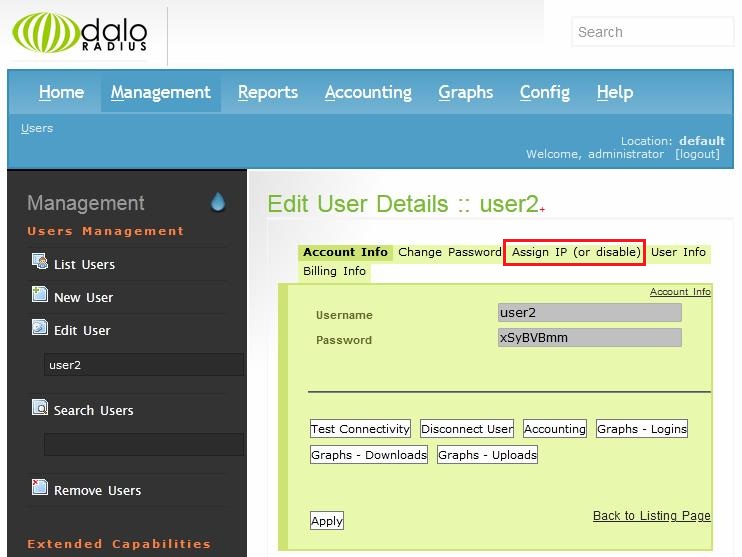
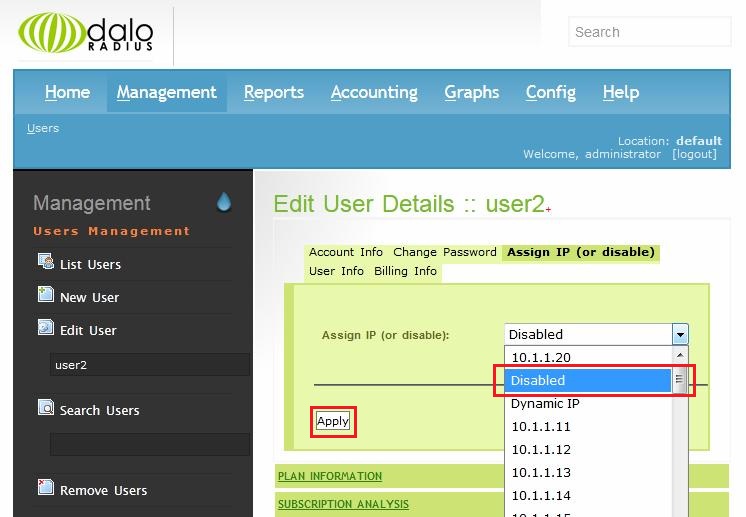
3. "Edit User Details" dialog will be displayed. Click "Assign IP (or disable)" tab:
4. Select "Disabled" from drop-down list and click the "Apply" button:
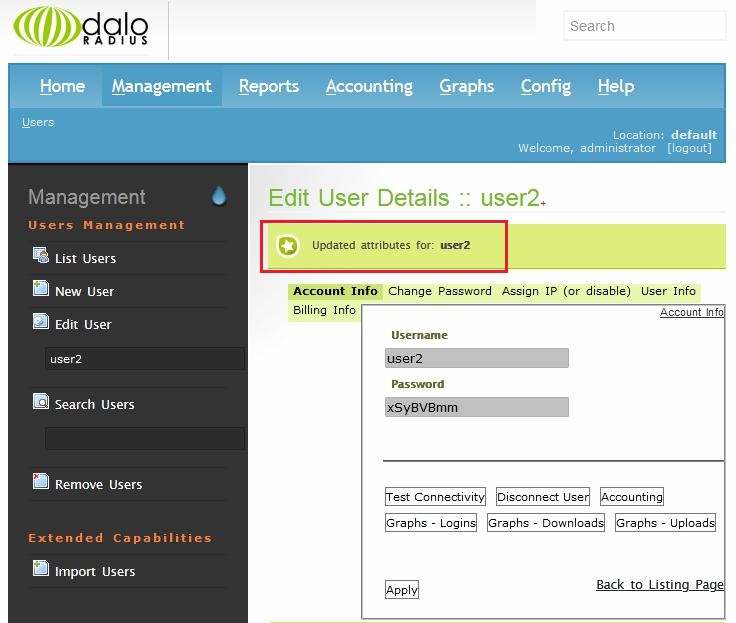
5. A confirmation message about record changes will be displayed:
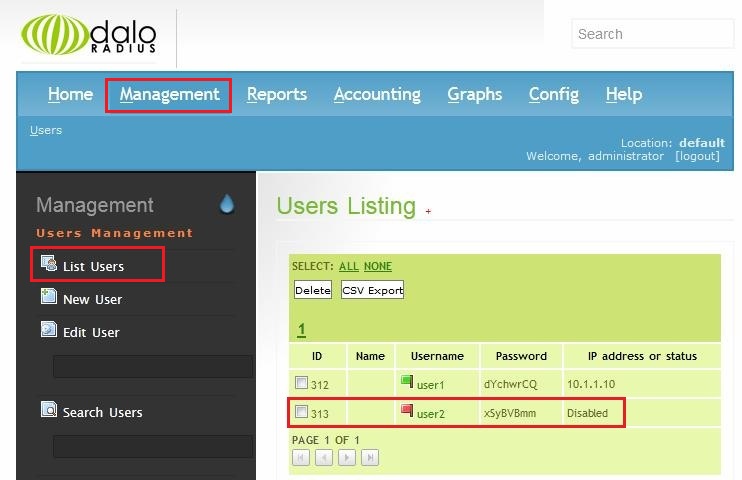
6. Click "Management"->"List Users" to verify, that VPN access has been denied for a selected user. Denied users are marked with red flag: